
Renter Move-Out Checklist: Photos, Cleaning, Keys, and Records to Keep
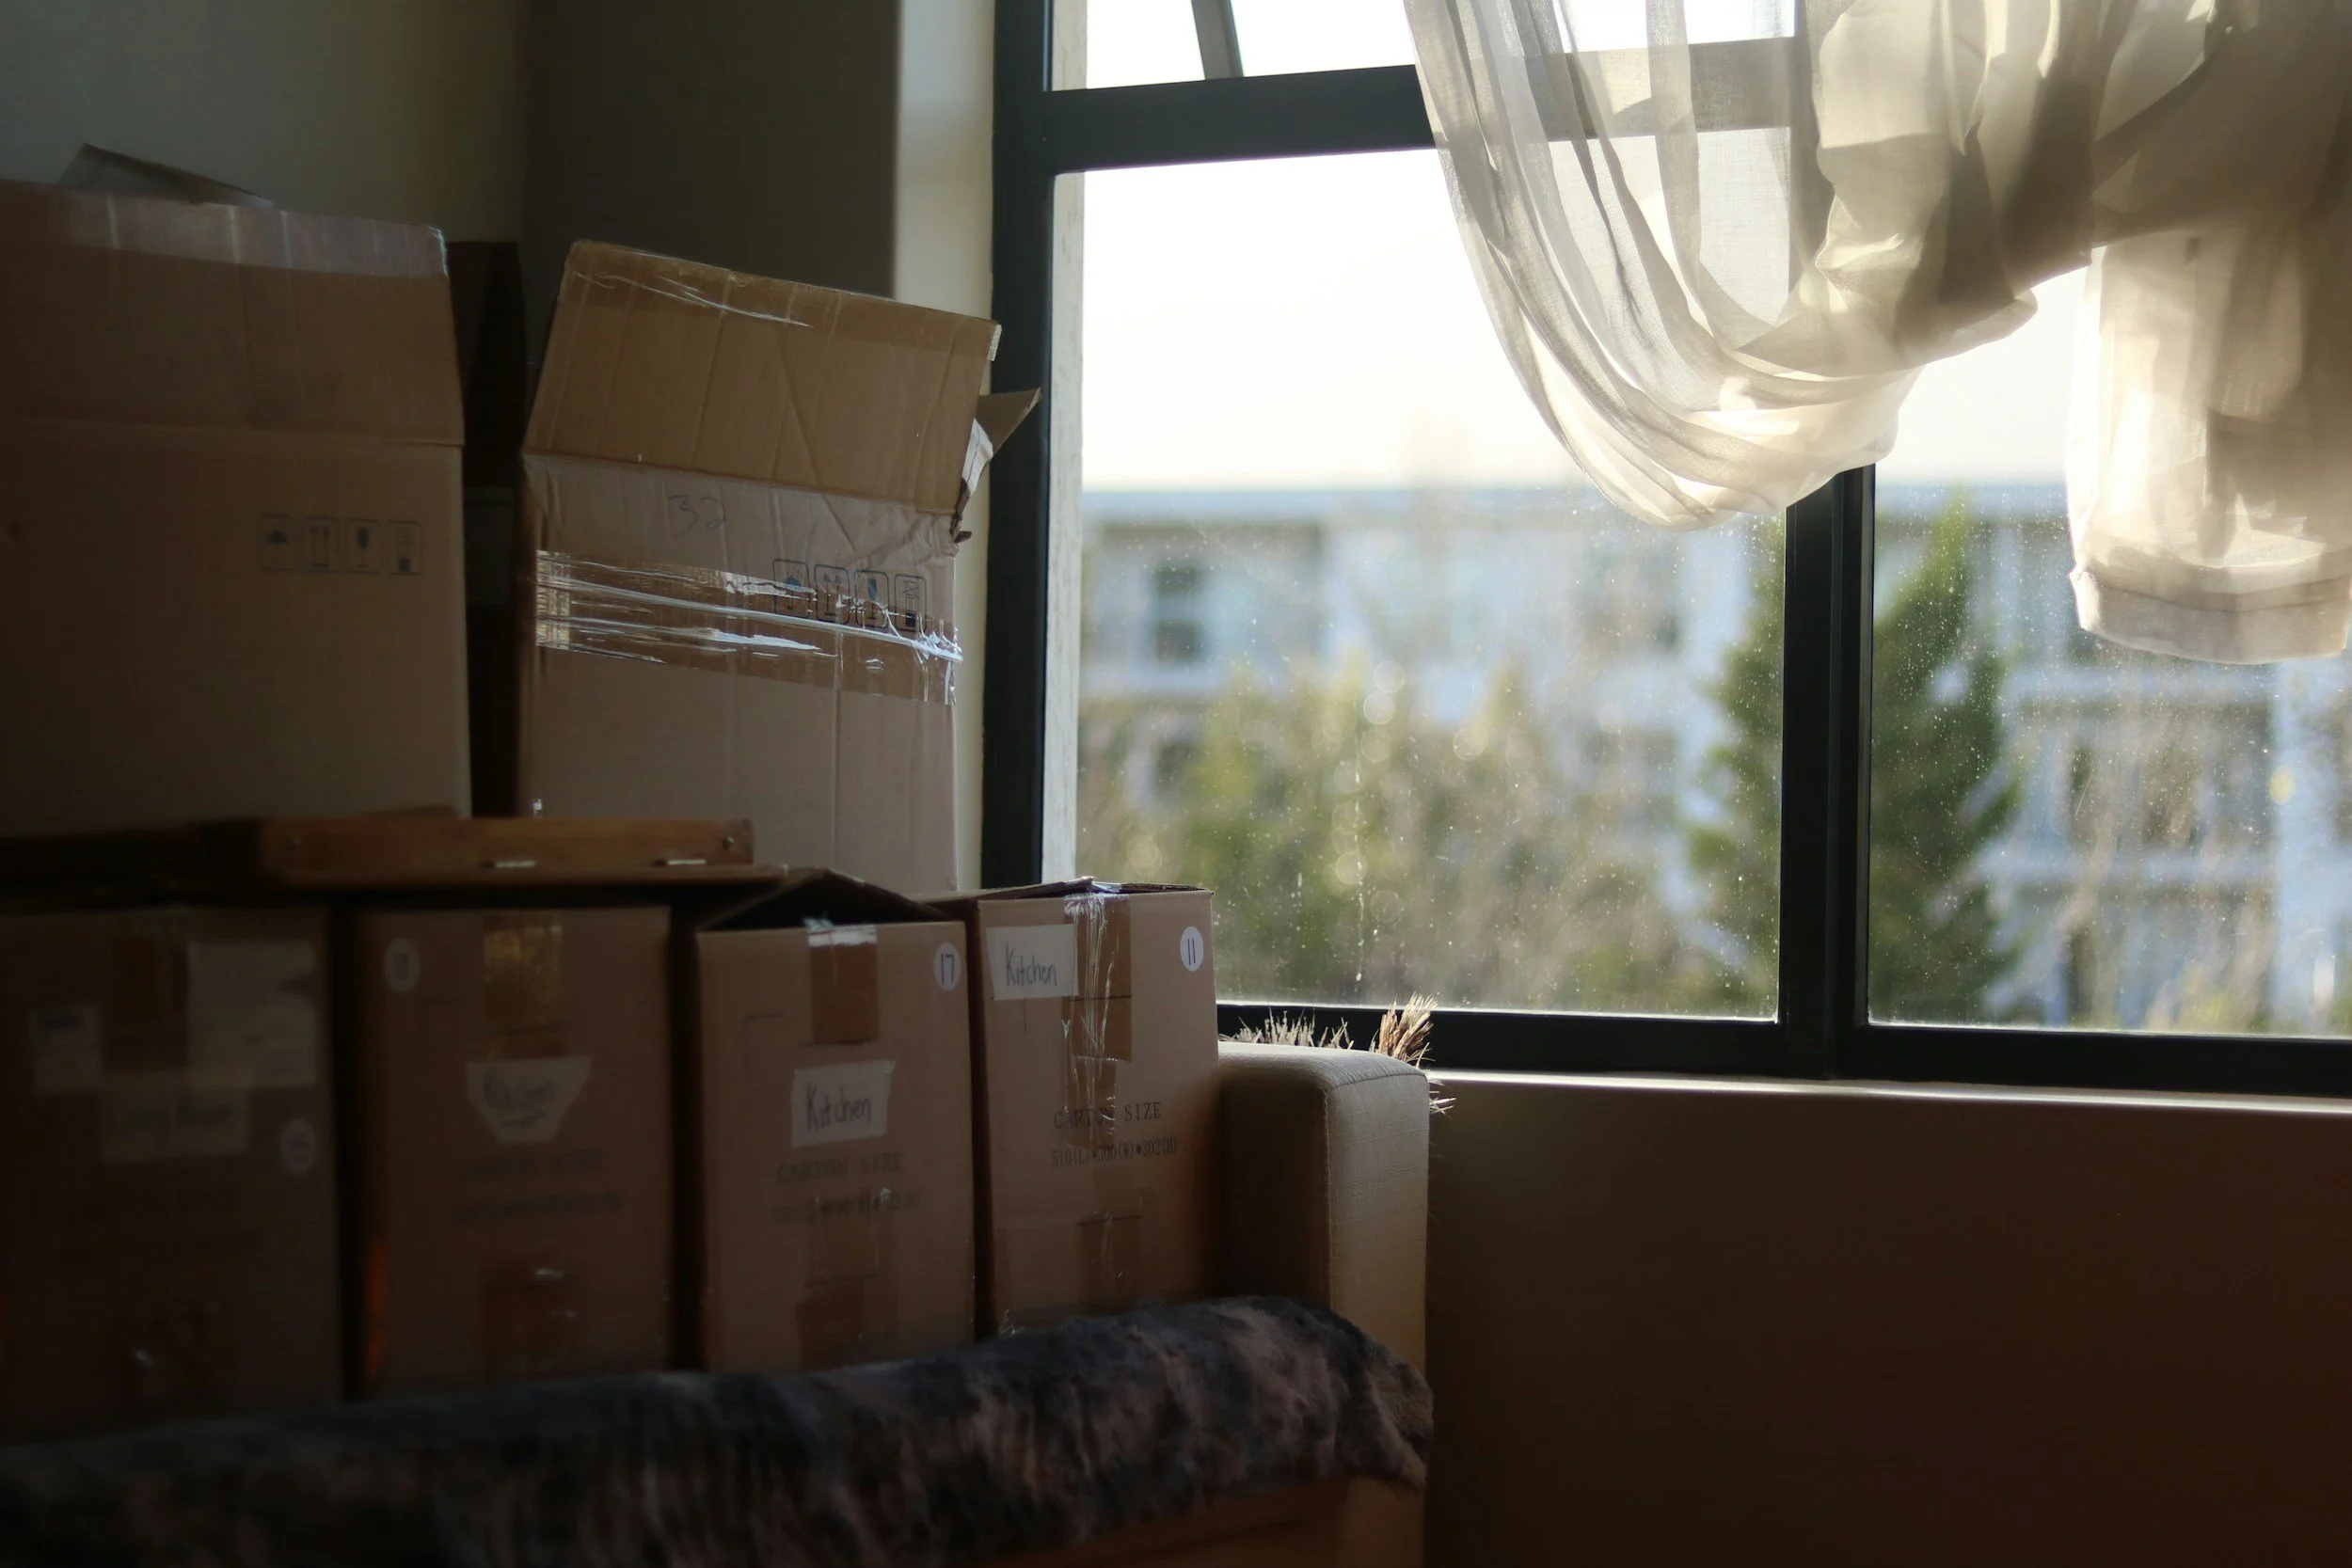
Moving out involves more than packing boxes. Renters should follow the lease, document the condition of the property, return every required key, and preserve records in case the security deposit is disputed.
Landlord-tenant laws vary by state and city. Notice periods, inspection rights, deposit-return deadlines, and permissible deductions depend on where the rental is located.
Review the Lease Before Giving Notice
Read the lease or rental agreement before choosing a move-out date. Check:
How much notice is required
Where and how notice must be delivered
Whether the lease renews automatically
The final rent due
Cleaning requirements
Rules for removing alterations
Procedures for a move-out inspection
Requirements for returning keys
Early-termination charges, if applicable
The address for sending formal notices
A lease may require written notice even when its stated term is ending. Giving late or incomplete notice can sometimes lead to additional rent or other charges.
Use a delivery method that creates a record. Keep a copy of the notice and proof that the landlord or property manager received it.
Compare the Current Condition With Move-In Records
Find the move-in checklist, photographs, videos, maintenance requests, and inspection reports created at the beginning of the tenancy.
Walk through the property and identify:
Conditions that existed at move-in
Normal wear from ordinary use
Problems previously reported to the landlord
Damage caused during the tenancy
Items that need cleaning
Personal alterations that may need to be removed
A tenant is generally not responsible for preexisting problems or ordinary wear and tear. Damage caused by the tenant, household members, guests, or pets may be deductible from the security deposit.
Examples of normal wear may include lightly worn carpet, faded paint, or small scuffs caused by ordinary use. Large holes, broken fixtures, major stains, or pet damage are more likely to be treated as tenant-caused damage.
The exact distinction depends on the facts and local law.
Request a Pre-Move-Out Inspection When Available
Some states give tenants the right to request an inspection before the tenancy ends. The purpose is to identify cleaning or repairs that could result in security-deposit deductions and give the renter an opportunity to address them.
Where the law does not require this type of inspection, the landlord may still agree to one.
Request the inspection in writing and ask to be present. During the walkthrough:
Take notes
Ask the landlord to identify concerns specifically
Request a written list of proposed deductions
Photograph the areas discussed
Avoid agreeing to vague or unexplained charges
Keep a copy of any signed inspection form
Schedule the inspection early enough to complete reasonable cleaning or repairs before returning possession.
An initial inspection does not necessarily prevent deductions for damage that occurs later or could not be seen because furniture or belongings blocked the area.
Remove All Personal Property
Check every room and storage area before leaving. Renters commonly overlook items in:
Closets
Cabinets and drawers
Attics
Basements
Garages
Storage lockers
Balconies and patios
Laundry rooms
Refrigerators and freezers
Outdoor sheds
Mailboxes
Leaving property behind can lead to removal, storage, or disposal charges. State law may require a landlord to follow specific procedures for abandoned belongings, but renters should not rely on the landlord to store unwanted items for free.
Dispose of furniture, electronics, paint, batteries, and hazardous materials through appropriate local services. Do not leave large items beside a dumpster unless the property manager and local rules permit it.
Clean Methodically
Use the move-in condition and lease requirements as guides. A practical cleaning checklist includes the following areas.
Kitchen
Remove all food and trash
Clean the refrigerator and freezer
Wipe cabinets and drawers
Clean countertops and backsplashes
Degrease the stove, oven, and hood
Clean the microwave and dishwasher
Scrub the sink and faucet
Sweep and mop the floor
Bathrooms
Clean the toilet, sink, tub, and shower
Remove soap residue
Clean mirrors and fixtures
Wipe cabinets and drawers
Remove personal items
Sweep and mop the floor
Address tenant-caused mildew where it can be cleaned safely
Bedrooms and Living Areas
Remove belongings and trash
Vacuum carpets
Sweep and mop hard flooring
Wipe accessible surfaces
Clean interior windows where required
Empty closets
Remove adhesive materials carefully
Replace tenant-supplied bulbs when appropriate
Other Areas
Clear patios, balconies, garages, and storage spaces
Remove pet waste
Clean laundry appliances if they belong to the property
Return furniture to its proper location
Remove unauthorized locks or fixtures as directed
Check that smoke and carbon monoxide alarms have not been disabled
Do not make an old surface look worse by using harsh chemicals or unsuitable tools. Photograph any condition that remains because of age, prior damage, or a maintenance problem.
Make Only Appropriate Repairs
Tenants may choose to correct minor damage they caused, but major or technical repairs should be approached carefully.
Do not attempt electrical, plumbing, structural, gas, or other regulated work without authorization and proper qualifications. An unsuccessful repair can increase the damage and cost.
Before repainting or reversing an alteration, review the lease and ask the landlord what is expected. Get instructions in writing when possible.
Keep receipts for approved repairs, replacement items, professional cleaning, or other move-out work. A receipt does not prove the property’s condition, but it can support the record.
Take Detailed Move-Out Photos and Video
Photograph the property after belongings have been removed and cleaning is complete but before returning the keys.
Capture:
Each room from several angles
Walls, ceilings, and floors
Carpet condition
Doors, windows, and locks
Closets and cabinets
Appliances inside and out
Sinks, tubs, showers, and toilets
Light fixtures
Smoke and carbon monoxide alarms
Patios, balconies, garages, and yards
Any existing damage
Any area mentioned during an inspection
Take close-up and wider photographs so the condition and location are clear. A slow video walkthrough can provide additional context.
Preserve the original files. Avoid relying only on images stored in a property-management app that may become inaccessible after the tenancy ends. Save a backup in another secure location.
Record Utility and Meter Information
Follow the lease and utility-provider instructions when transferring or ending service. Turning off a required utility too soon could create problems, particularly in extreme weather.
Record final meter readings when relevant and keep:
Final electric, gas, and water statements
Service cancellation confirmations
Transfer confirmations
Payment receipts
Any account numbers needed for follow-up
Do not assume that ending the lease automatically closes a utility account in the tenant’s name.
Return Every Key and Access Device
Gather all property belonging to the landlord, including:
Door keys
Mailbox keys
Garage remotes
Parking permits
Building access cards
Gate fobs
Pool or amenity passes
Storage keys
Follow the lease or property manager’s instructions for returning them. Do not leave keys inside the rental without written authorization.
Request a dated receipt stating what was returned and when. If keys must be placed in a drop box, photograph or record the delivery when lawful and send a written message confirming the return.
The date possession is returned can affect rent and security-deposit deadlines, so clear evidence matters.
Provide a Forwarding Address
Send the landlord a forwarding address in writing. State law may require this before certain deposit-related obligations apply, and the landlord needs a valid address for the refund and itemized statement.
Consider arranging mail forwarding through the U.S. Postal Service, but do not rely on mail forwarding as a substitute for directly notifying the landlord.
Keep a copy of the forwarding-address notice and proof of delivery.
Keep a Complete Move-Out File
Preserve the following records after leaving:
Lease and amendments
Move-in and move-out checklists
Security-deposit receipt
Rent-payment records
Move-in photographs and videos
Move-out photographs and videos
Maintenance requests
Inspection reports
Notices sent to the landlord
Emails, texts, and portal messages
Cleaning and repair receipts
Utility confirmations
Key-return receipt
Forwarding-address notice
Tracking information for mailed documents
Security-deposit refund and itemized deductions
Keep the file at least until the deposit is returned and every issue is resolved. Longer retention may be appropriate if a dispute, collection claim, or lawsuit is possible.
Review the Security-Deposit Statement
The deadline for returning a deposit and providing an itemized list of deductions varies by jurisdiction.
When the statement arrives, compare each charge with:
The lease
Move-in records
Move-out evidence
The age and prior condition of the item
Inspection notes
Invoices, receipts, or estimates
State and local deposit laws
Question charges for ordinary wear, preexisting damage, work that was not performed, or costs that appear unreasonable.
If the landlord misses the applicable deadline or makes unsupported deductions, send a written dispute. State the amount requested, explain the disagreement, attach supporting evidence, and keep proof of delivery.
Depending on the jurisdiction, unresolved disputes may be handled through negotiation, mediation, a housing agency, a consumer protection office, legal aid, or small claims court.
Final Walkthrough Checklist
Before leaving for the last time, confirm that:
All belongings and trash are removed
Cleaning is complete
Approved repairs are finished
Cabinets, closets, and storage areas are empty
Photos and video have been saved
Windows and exterior doors are secured
Appliances and fixtures are left as instructed
Utilities are handled according to the lease
Every key and access device is returned
A key-return receipt is obtained
The landlord has the forwarding address
Copies of all move-out records are backed up
The Bottom Line
A careful move-out record can be as important as the cleaning itself. Renters should follow the lease, request an inspection when available, photograph the empty property, document the return of keys, and retain every relevant notice and receipt.
These steps cannot prevent every disagreement, but they provide useful evidence if a landlord claims the property was damaged, inadequately cleaned, or surrendered later than the tenant reports.
This article provides general information about U.S. rental practices and is not individualized legal advice. Move-out procedures, inspection rights, security-deposit deadlines, and available remedies vary by state and local jurisdiction.
